Quadrocopter – First part made on my newly built home made router
30/07/2012 | Filed under: UncategorizedFinally here are some photos from my latest Quadrocopter build. I designed the frame and all parts for the frame are milled from Carbon fiber og PE-300 with my CNC router.

The lower main plate for my frame. Made from 2mm carbon fiber.
I made everything so I would have enough parts for two Quadrocopters.

The upper main plate for my frame. The tail is for mounting the battery with velcro strap. Made from 2mm carbon fiber.

The clamps for the arms. I made about 100 pieces.

The legs for my copter. Made from 1mm thick carbon fiber. Next time I will make them from 1.5mm thick carbon fiber and also change the design they tend to brake to easily at least when you are learning how to fly this things.

The motor mounts. made from 2mm carbon fiber.

Frame assembled and ready for all the electronics and wires.

Top view, frame assembled

Motors assembled to my frame

A lot of wires
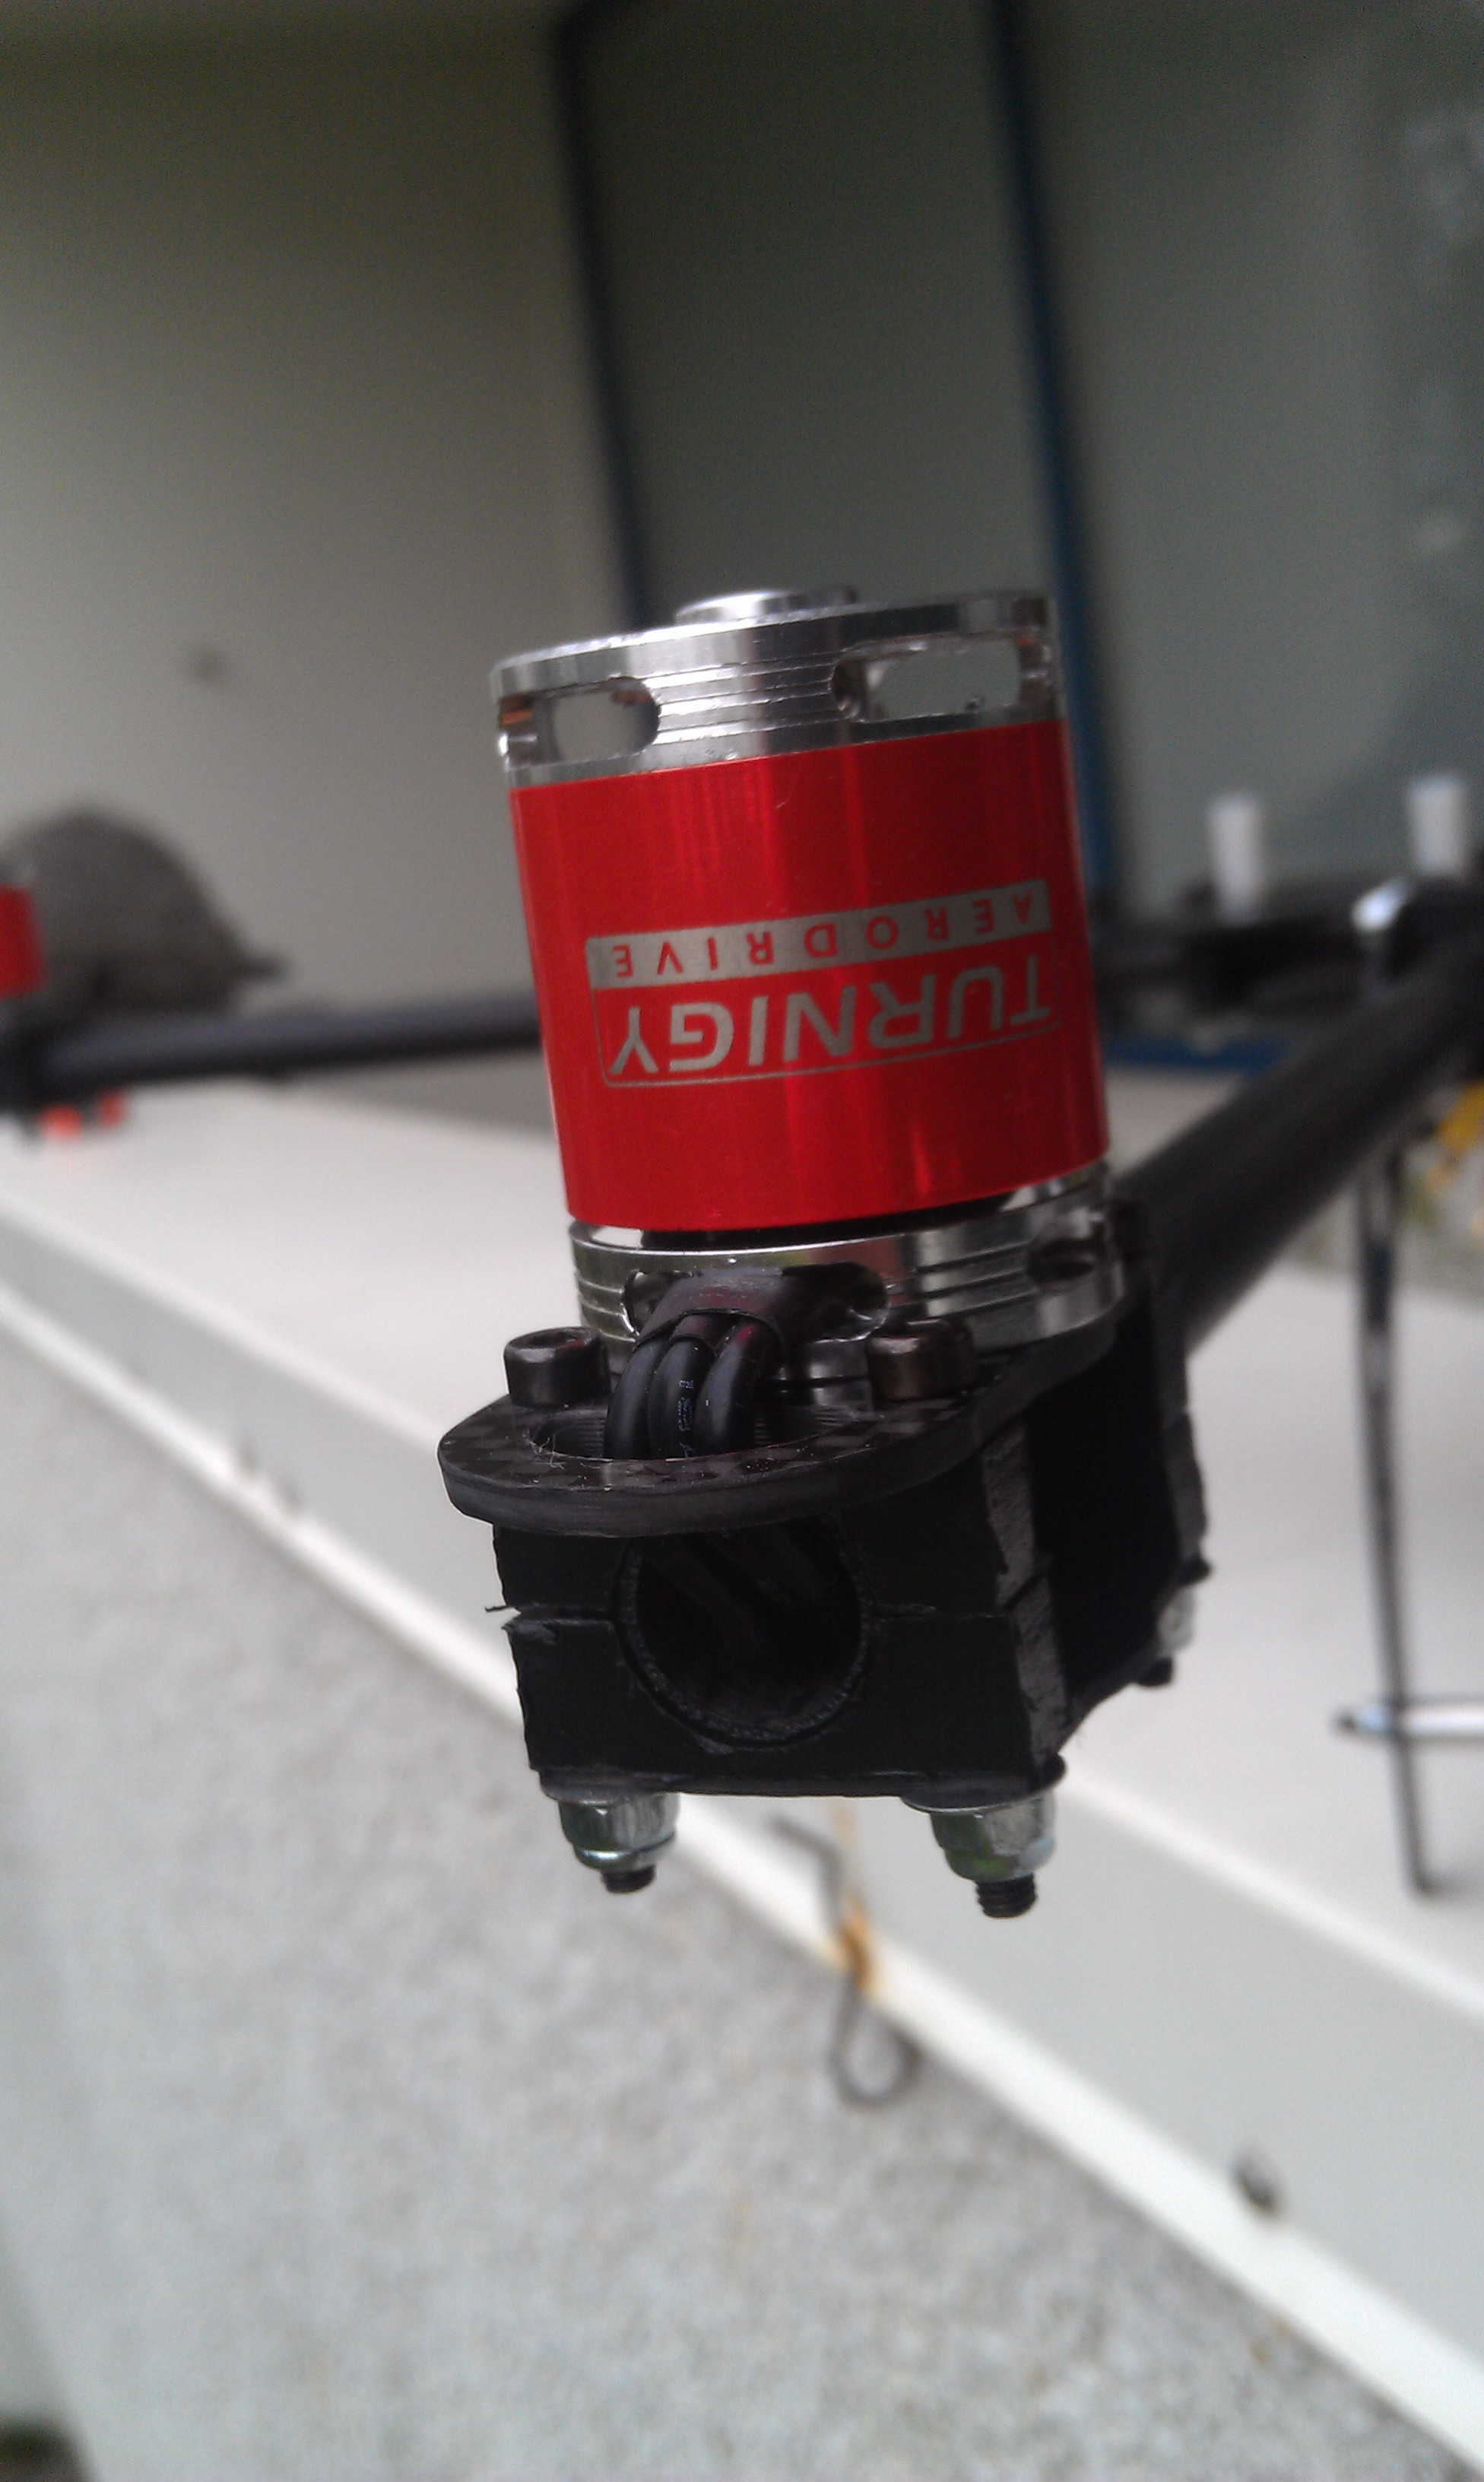
Turnigy Motors

All assembled and ready for the first flight, Gopro Hero mounted to the front.

Me and my Quad
The frame has poved to very good except the legs tend to brake very easily. For my next design I will make some minor changes and try to organize the wires better. Also I want to be able to mount better camera to my quad.
I will post video from my latest flights soon. I am still learning the basics of how to edit the videos.
Quadrocopter – the begining
26/06/2012 | Filed under: UncategorizedOk, I have not blogged about this project before but I have been working on it for almost two years now on and off, the router project took a lot of time so I have not been able to work on this as I wanted. Since my router project is now “finished” or at least is up and running I have spent the last month working on my newest Quadrocopter. Before I make post on my newest progress I want to show you my first designs and toughts.
First of all I started to order all the parts I needed. I ordered alot of parts to have enough of spares in case something would brake. I bought the controller board from Aeroquad wich is a open source project. Other parts I bought there were the propellers. Other parts I bought from Hobbyking, I did buy a lot of wires, connectors, heat shrink tubes, carbon fiber plates and tubes and other parts I tought would come handy in the build. My initial tought was to make the Quad as light as possible. Below is my first design.

My first Quadrocopter
My first flight was not succsessfull to say the least, it went up trough two rolls and crash landed with the frame broken, all props broken and one motor damaged. This was quite frustrating but I started to make another frame. The frame was made from balsa wood and carbon fiber tubes glued together and was extremely light. The next flights were more successfull and I managed to fly but my pilot skills
were really bad. I added 1kg of steel bars on the quad to make it slower and more controlable. This helped alot and surprised me how much weight it was able to carry.
Here are few pictures of it almost ready to fly.
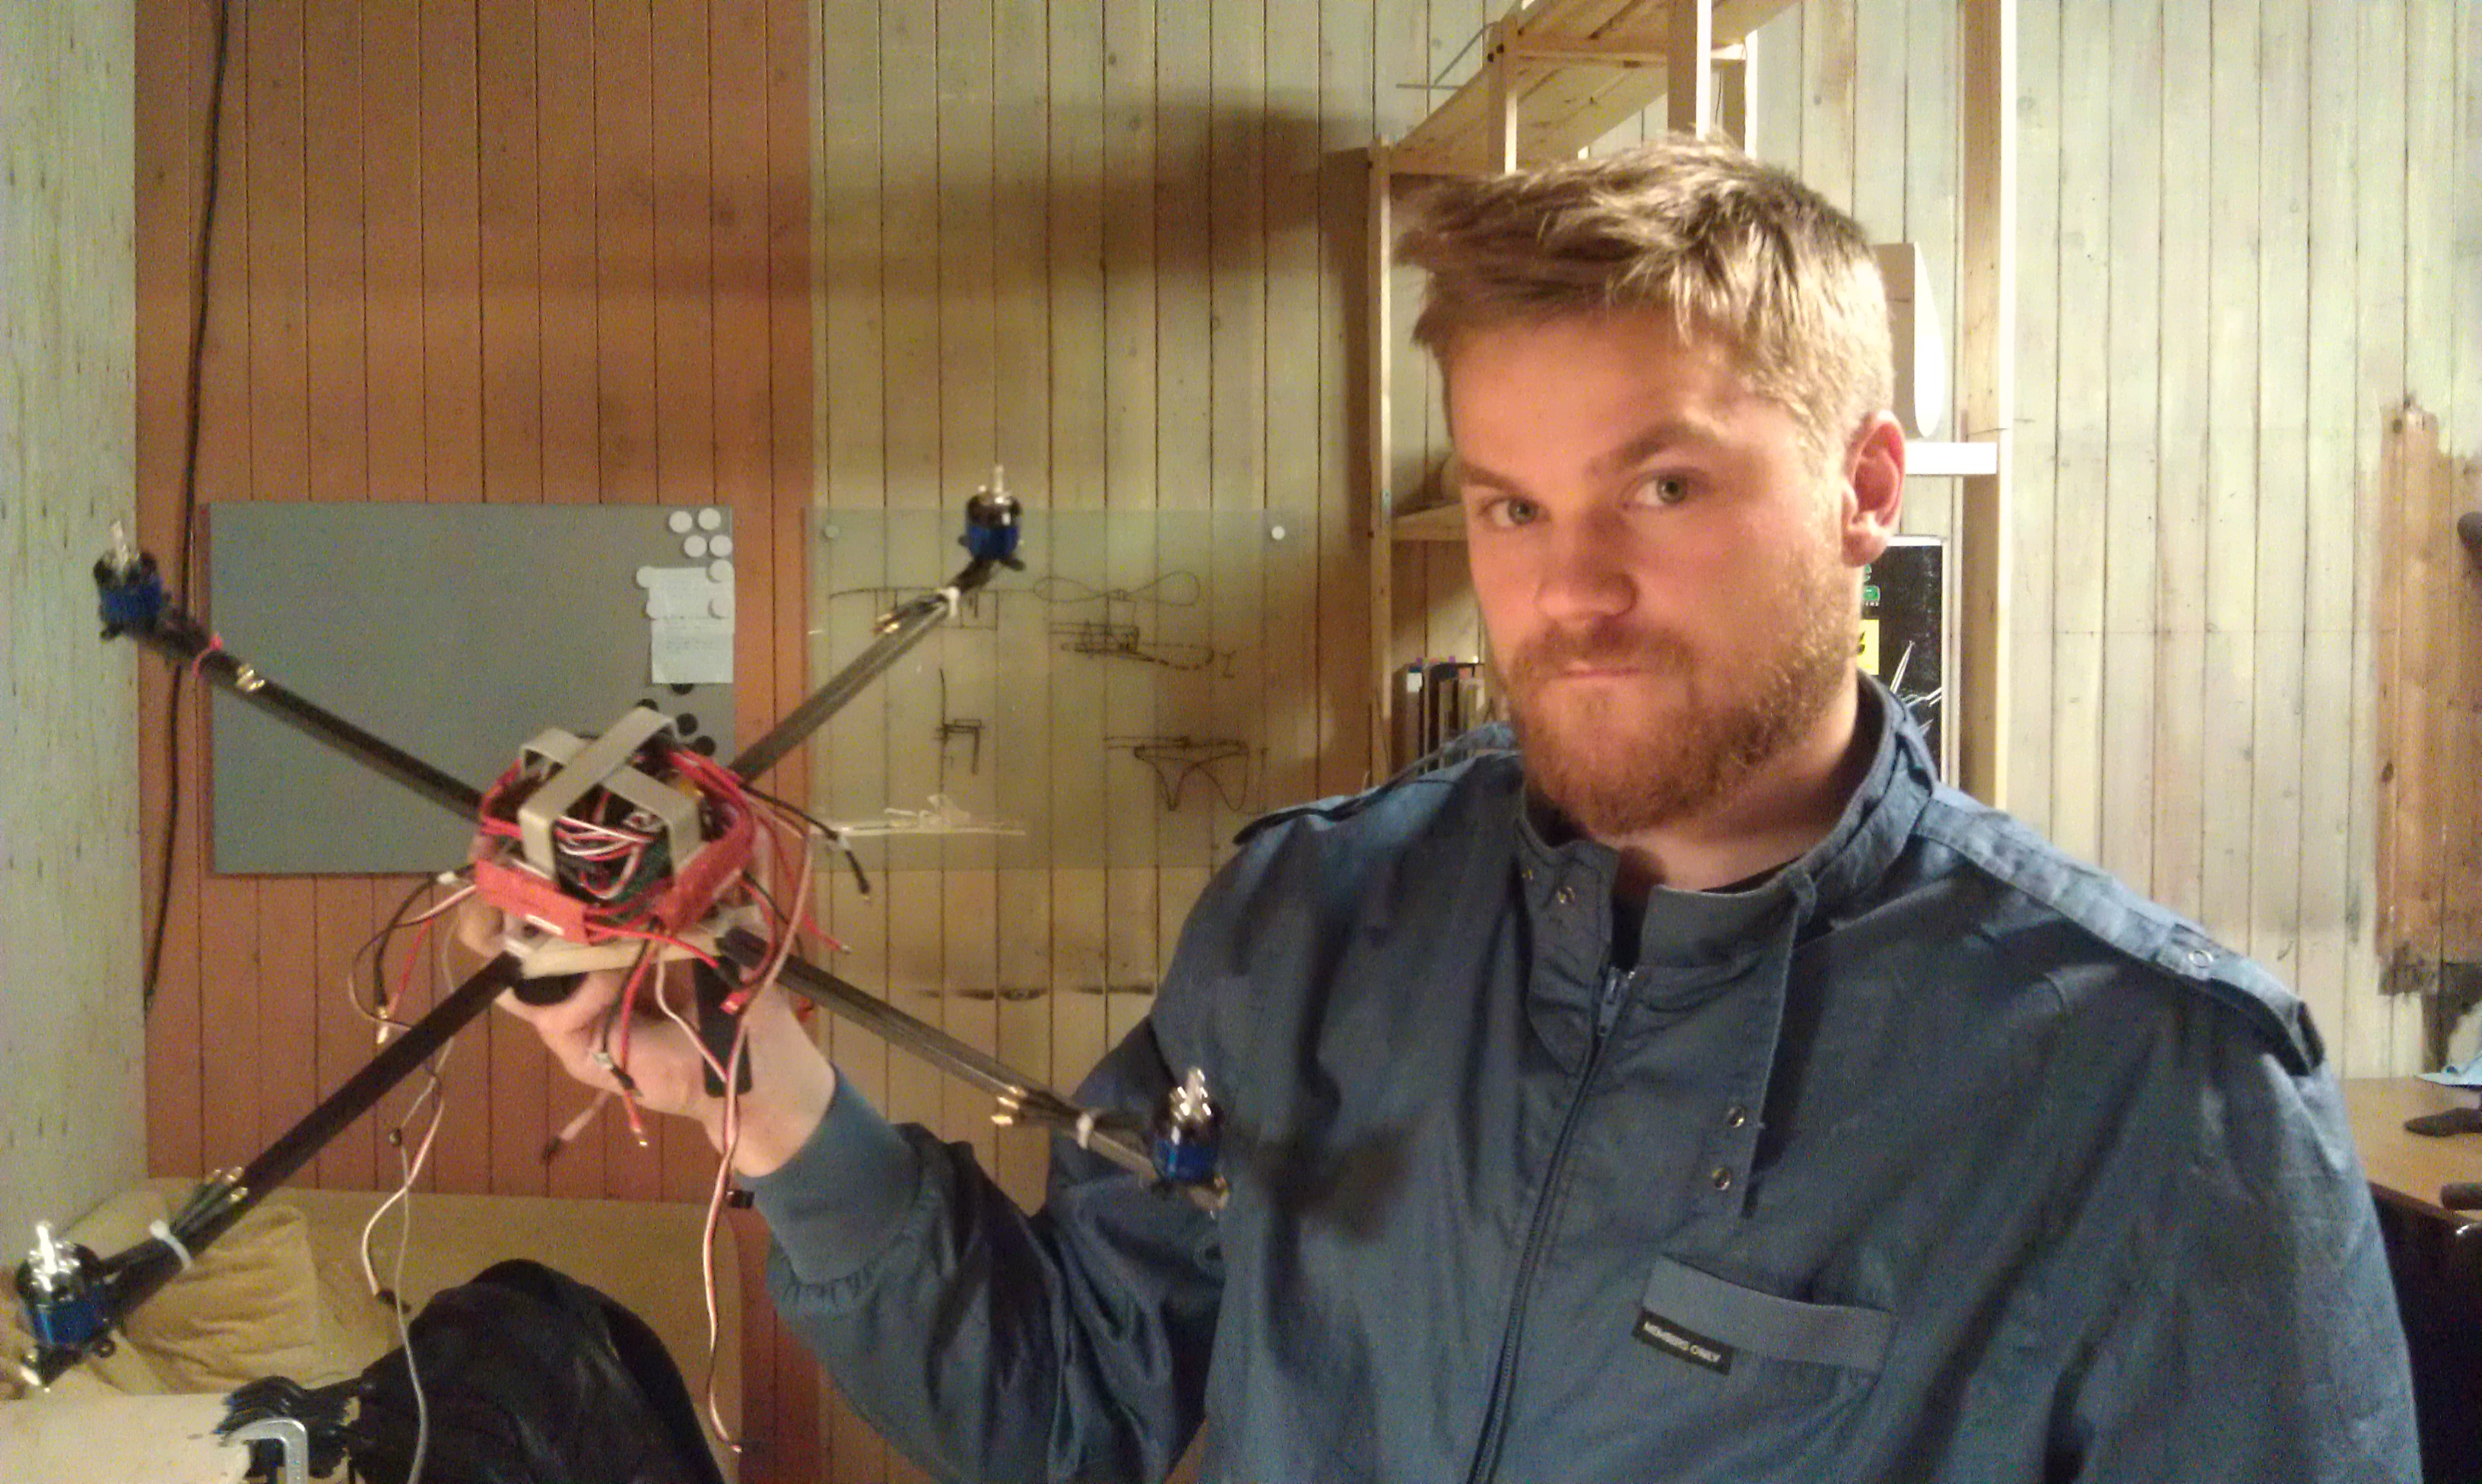
Me holding the second Quad almost ready to fly

My second quad

A closer look at the electronics
After a few flights my frame had sufferd a lot of beating and I had to make a new one. At this point I wanted to make proper frame so I decided to finish my router build.
It took me a while to finish the router build but now I have “finished” the router and also made the first frame with it. More pictures and videos from the build and the first flights coming soon.
Leave a comment »
Router project update – New stepper motor controller and spindle
19/05/2012 | Filed under: CNC routerIt´s been awhile since my last post here but I have been busy last months on setting up my router, installing new spindle and another motor controller. I did fry my old stepper motor controllers due to the fact that I don´t know to much about electricity. I did put a switch on the dc site of the power supply that caused my breakout board to fry with smoke and everything. I therefore purchased a Gecko G540 wich I must say I really like, very simple easy and reliable and it reduces all the wiring and therefore reduces the changes of messing something up

This is my new controller, Gecko G540. Very easy to install and has a lot of in and out puts both to control the spindle speed wich I will do someday and also has inputs for limit switches and emergency switch. The micro stepping resolution is 10.
Now I am using a Ridgid spindle wich works very well. The speed range is 20.000 to 30.000 RPM but it would have been nice to have slover speeds also avilable. This works fine tough with all material that I have cut except plexi.

My Ridgit spindle and the mount for it.


I have to shield the lower bearing from debris from the spindle, For now I am using duct tape as a permanent solution. I also did purchase more spindle bits from trend ranging from 1,5mm in diameter to 3,2mm bot spiral and straight cut.
It took me awhile to get the right travel on the x-axis due to the fact that the axis is belt driven and I had to find the right tension to get good results, now the accuracy is 0,1mm wich I am happy with for now. Later on I will redesign this axis and put on a lower gear ratio for more accurate resaults.
I have also added limit switches on all axes and they are also my home switches. Here you can see the limit switch installation on the Z-axis.

This is my limit/home switch on my Z-axis.
And below you can see my first piece that I made after improvements.

This is the first piece I made after the improvements, the Batman logo
And finally a picture of me.

Me working in EMC2
I am now making parts for my quadrocopter so stay tuned for more to come.
Leave a comment »
Fireworks and airplanes
15/01/2012 | Filed under: RC controlledIf you like RC controlled planes, copters, cars or boats and fireworks you should ceck this out.
This guy has also done alot of other funny and cool stuff, click here for more of his projects.
Leave a comment »
CNC Router project update – First part made
14/01/2012 | Filed under: CNC routerHi I just wanted to let you know that my Router is up and running now. Ofcourse there is more to be done but I have already made few pieces with it, here is my most recent one. Vesen is the name I have given my router.

One of the first pieces made
I was really proud that I manged to finish this piece before the new year since it was my aim to have the router up and running in the year 2011.

This is how my router looks now
I definetly have to make better/stiffer holder for my Dremel since this holder is far from being accurate.
Leave a comment »Router project update – New parts milled and router ready for final assembly
05/01/2012 | Filed under: CNC router
New parts milled and reasy for assembly
Yai Finally my parts arrived, this was a long wait but they look gergous I must say:) Everything did fit do gether so now all parts have arrived so I can finish my assamble and start routing soon, hopefully.

Ballscrew inserted to nuts, this did not go as planned in the first try :)
When I first tried to insert the nut on to the ballscrew it went horrible wrong. All the balls fell out and they where so small. Fortunetly I had a bucket under to capture all the balls, I was worried this might happen. the reason for this mistake was that the tube that did hold the balls in place was not thin enough to go all the way to the to the threads. The tube that did hold all the balls in place was something under 12mm in inside diameter and therefore I could not take it all the way where the threads start since the diameter of the shaft was 12mm. The installation was easy, I just used some grease to hold the balls in place and made new tube to hold the balls with large enough diameter to fit over the shaft all the way to the thread. The second ballscrew went lot better.
2 Comments »
Router project update – New parts for my router
28/11/2011 | Filed under: CNC routerFinally got some more parts for my router.
It looks realy good assembled.


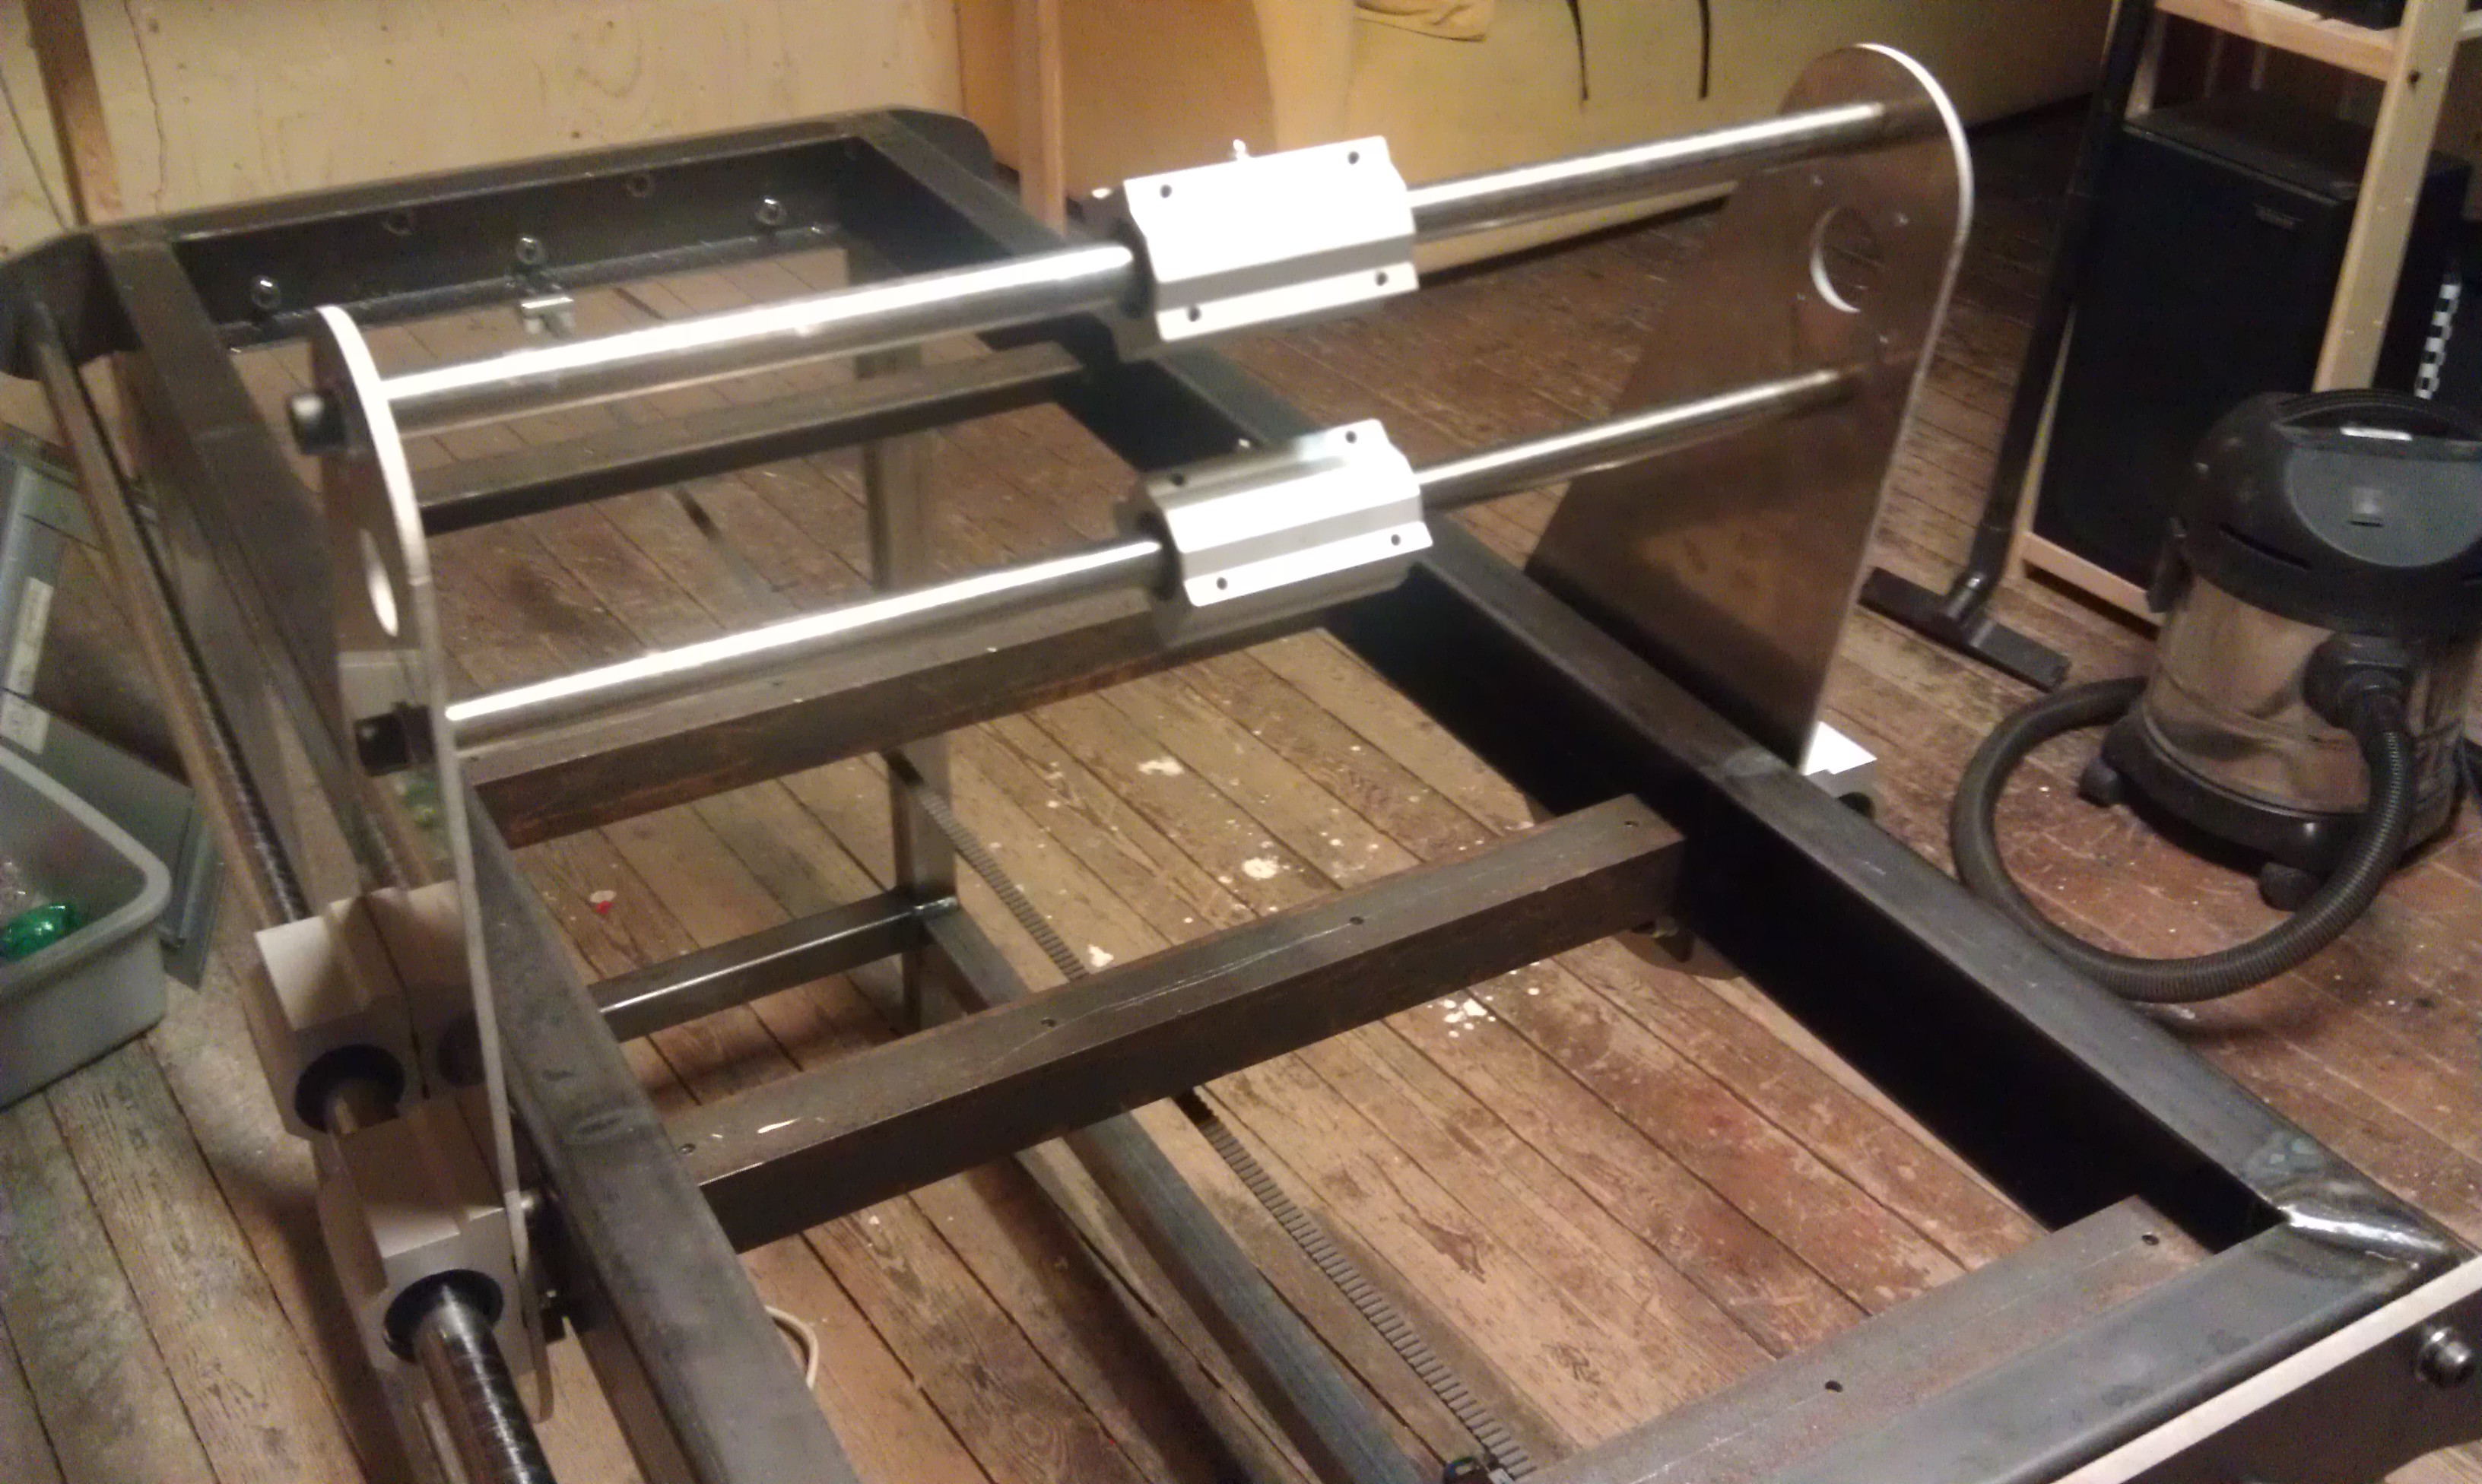
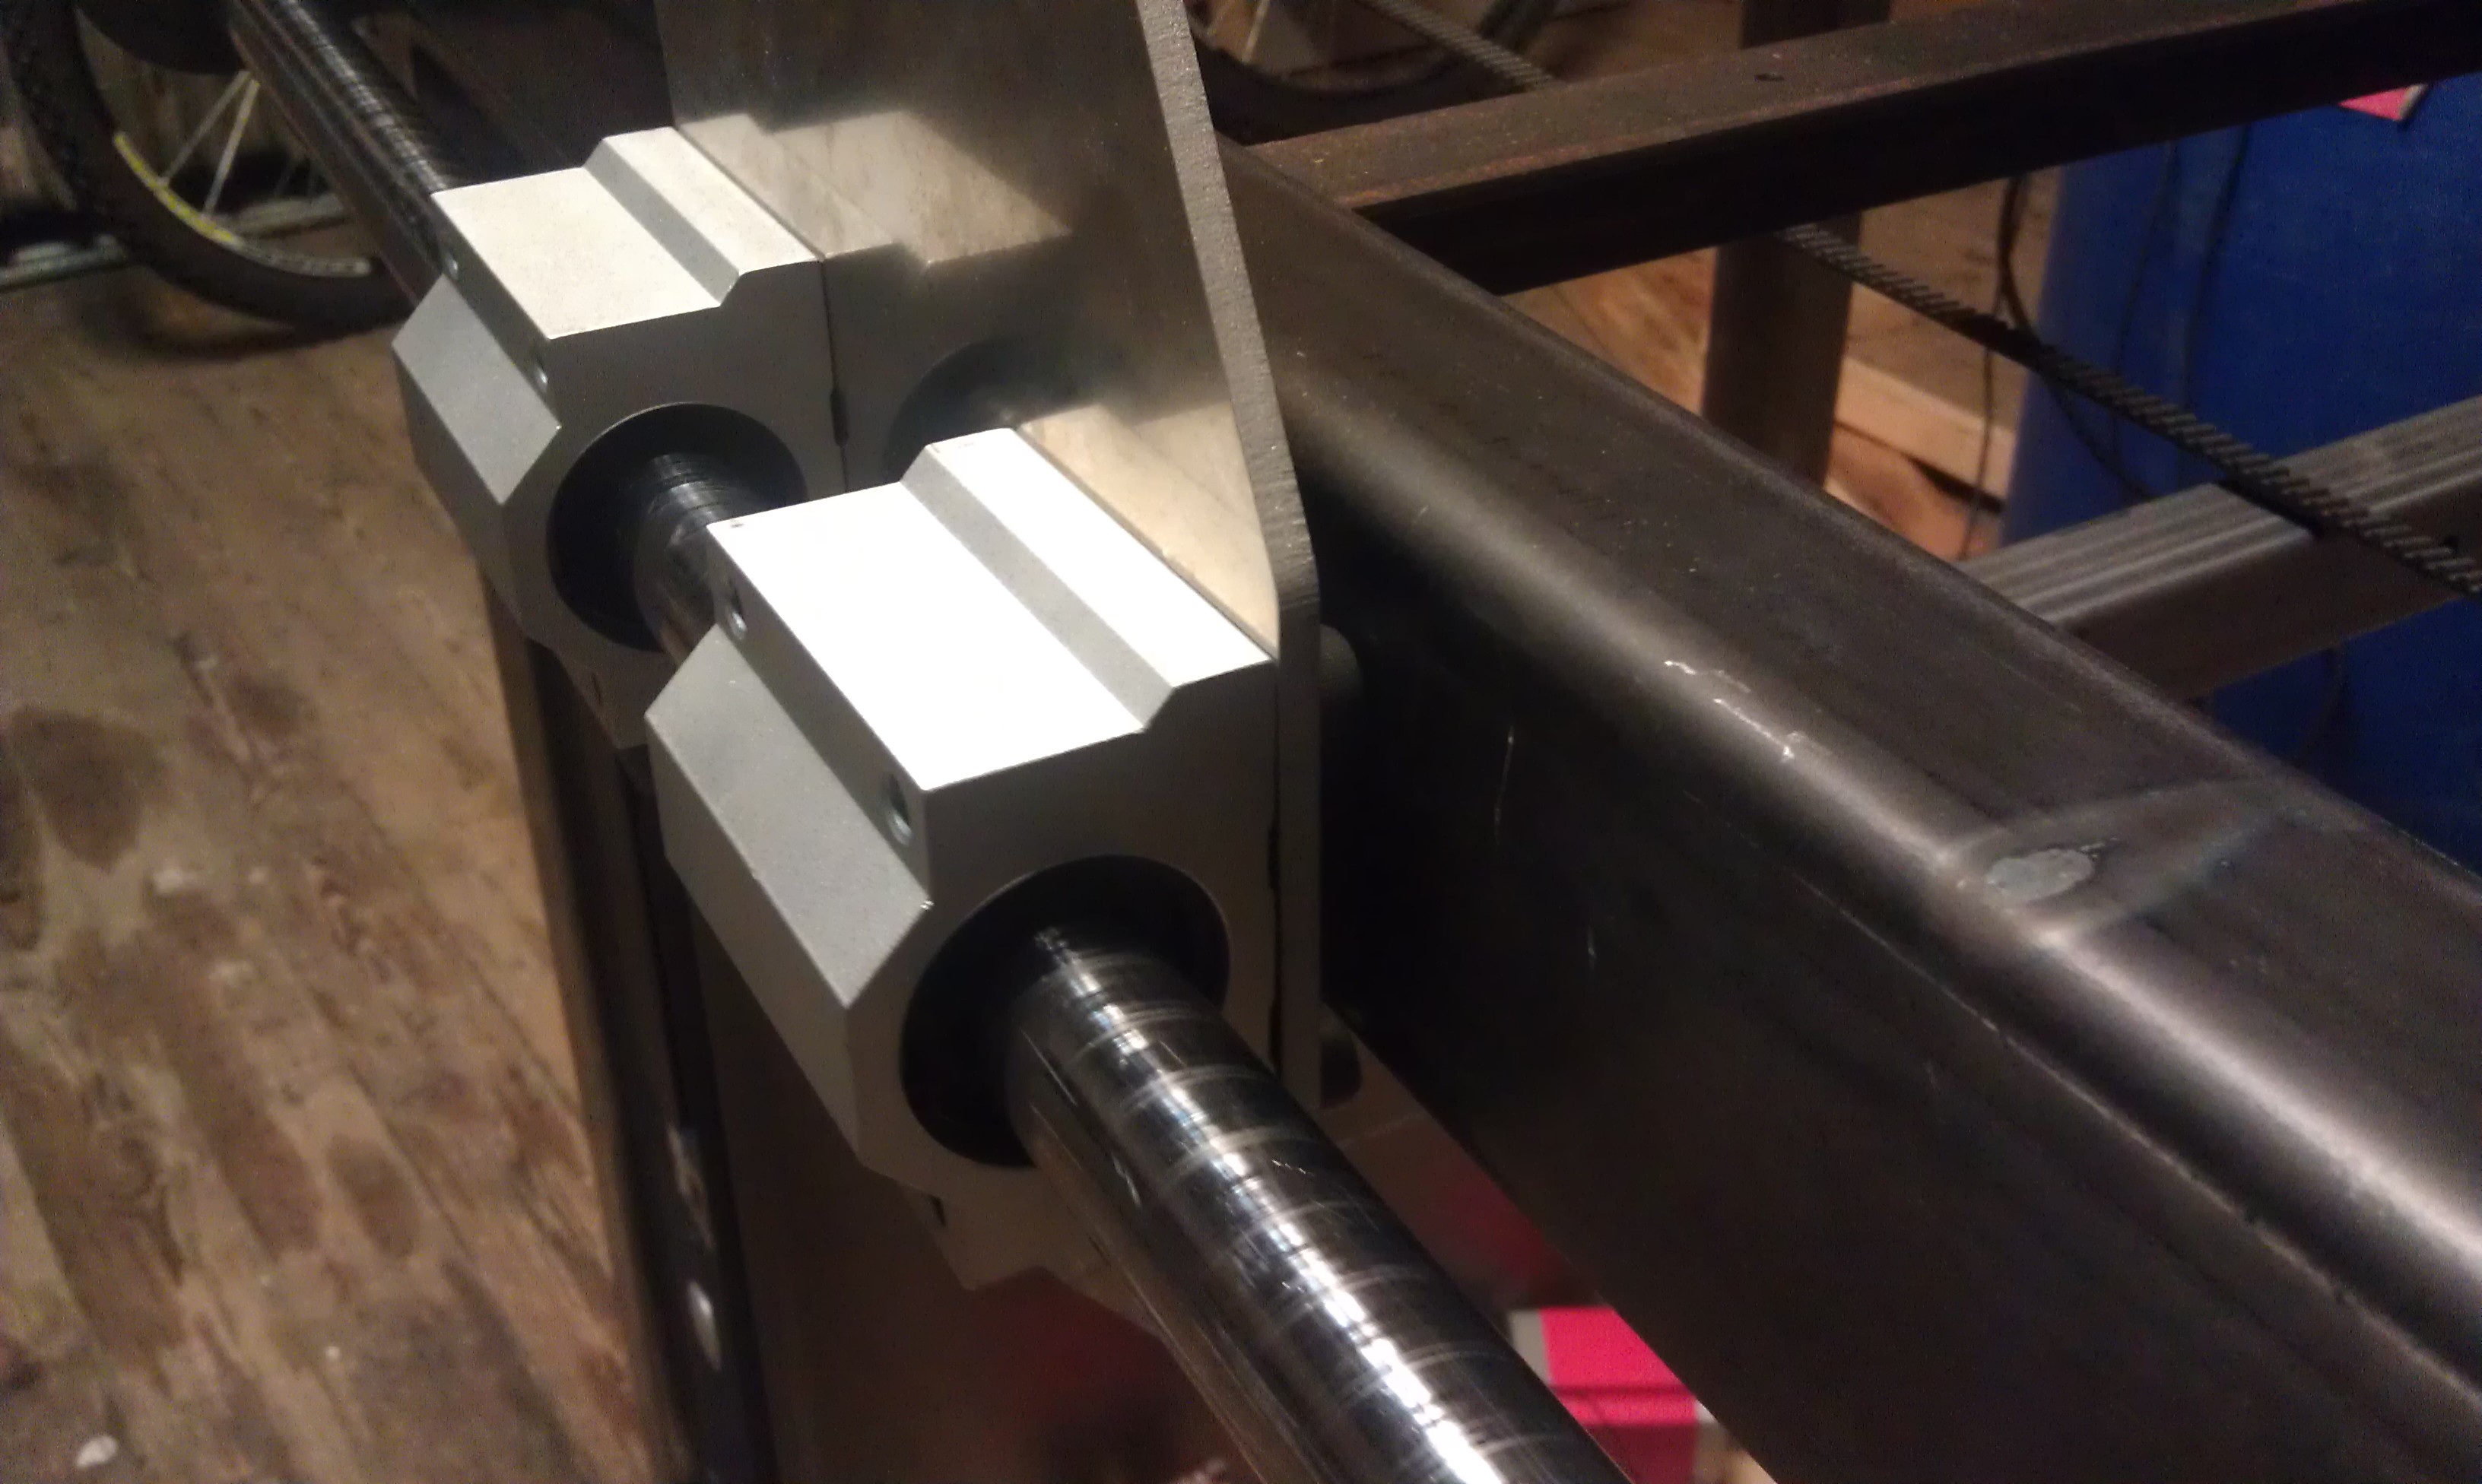
The bolts for the linear bearings are M8 bolts but in the data sheets with the bearings it stated that this was M6 bolts. It looks like this will be ok but as you can see the clearence is very little between the frame and the bolt head. I might have to change the socket head bolts to something else.
Those parts were made by Héðinn’s workshop. For more pictures click here.
Leave a comment »New CAM software – BobCAD/CAM
21/11/2011 | Filed under: CNC router, Other softwareDid purchase the Bobcad V24 pro and with it Bobart pro. This bundle cost a lot of money, but most CAM bundles do cost a lot. This software has many options and quite advanced toolpath compered to the low end softwares like Mesh-cam and Cut 3D. Those where some of the software’s I did try out, I did try all CAM software’s I could find and BobCAD seemed to be the best buy for the money, given that it will do what is promised.

Screenshot from my new Bobcad of a toolpath I made
Above you can see a screenshot I made this weekend, making toolpaths for a part that is for my quadrocopter.
I think I have to live on a noodle soup for the rest of the month, so lets hope the software is worth it.
Router project update – Stepper motors playing music, crucial step in my build
18/10/2011 | Filed under: CNC routerNow that my stepper motors are able to play all kinds of music they must be able to also cut something usefull, when my router is finally assembled.
I made a video of my steppers playing the tetris song. As you can see some of the motors are so deeply in the groove they had to be strapped down so they would not dance away.
Leave a comment »
Photofly from Autodesk
14/10/2011 | Filed under: Other softwareJust saw this amazing software from autodesk. This is a 3D scanning software that only uses point and shoot camera. It actually works and in my opinion is quite mind blowing. It is accurate enough for visual look, but if your doing very precise work you would need to consider other solutions. I imagine this especially good for architechts and other planners that would need quick and easy 3D models.
This video shows
At the moment this software is free to use. Just sign up here and download the software frome here and install and you are ready to go with your camera. I did try this software wita Canon ixus camera and worked better than I expected. You just have to keep in mind to take alot of pictures from all angles so all areas are covered and also to choose not to uniform objects to photography. For better instructions have a look at his video.
Leave a comment »
Follow Me